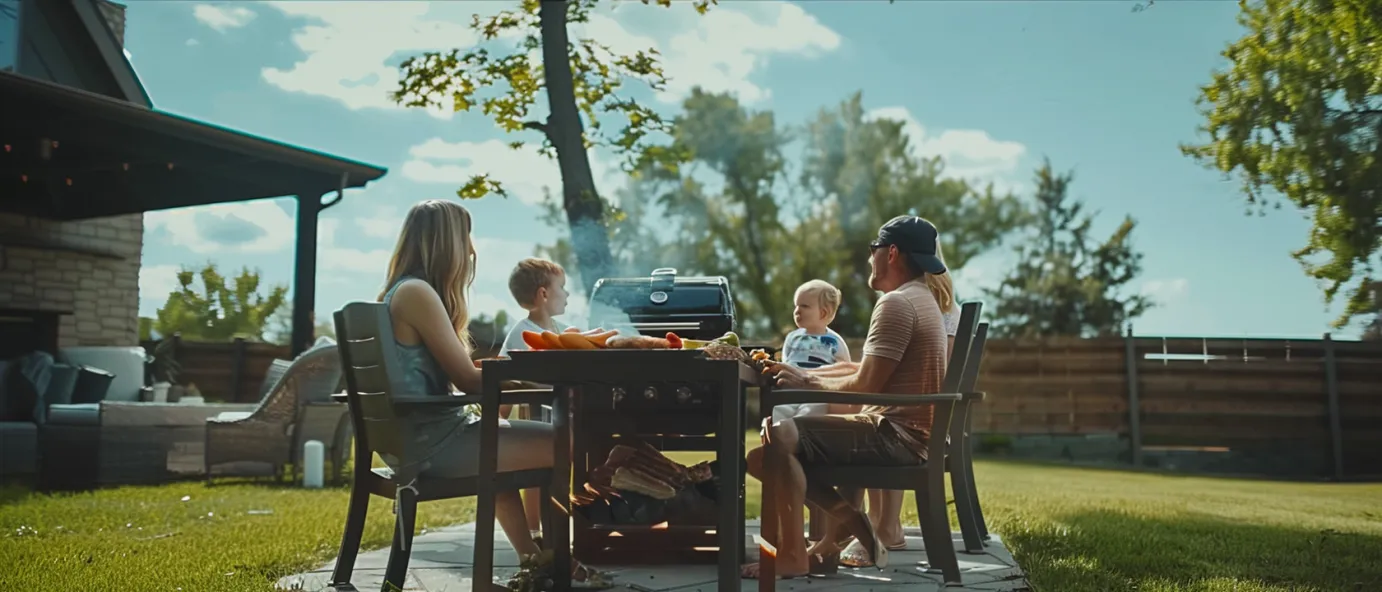
Cooking on a Blackstone flat top griddle is an absolute joy. There’s nothing quite like the sizzle and aroma of burgers, steaks, veggies and more cooking on these versatile grills. But before you can start dishing up pancakes, smash burgers or fajitas on your new Blackstone, it’s essential to properly season the griddle first. Seasoning helps protect the metal, prevents food from sticking, and gives everything you cook incredible flavor.
Follow this complete guide to learn how to perfectly season your new Blackstone grill or griddle before kicking off your first cookout!
Why Seasoning a Griddle Is So Important
Taking the time to season a new griddle like the Blackstone is crucial for optimal performance. Here are the key benefits:
- Prevents Rust: Blackstone griddles are made from cold rolled steel which can rust without seasoning. Oiling creates a protective barrier.
- Non-Stick Surface: Proper seasoning provides a natural non-stick coating that prevents food from sticking and makes cleaning much easier.
- Enhances Flavor: Seasoning imparts a subtle flavor into everything cooked on the griddle. Food takes on a delicious seared taste.
- Looks Better: A well-cared for cooking surface has an attractive, uniform sheen. It shows pride in your equipment.
- Adds Years of Life: Regular seasoning and care enables decades of cooking. An unseasoned griddle can rapidly deteriorate.
As you can see, taking the time to season pays dividends through better cooking results and less hassle when using your Blackstone. Now let’s get into the step-by-step process.

How to Season a New Blackstone Flat Top Griddle
Seasoning a new Blackstone griddle or grill is simple but important. Here’s how to do it right:
Supplies You’ll Need
Before starting, gather these supplies:
- Vegetable, canola or grapeseed oil (about 3-4 oz)
- Old rags or paper towels
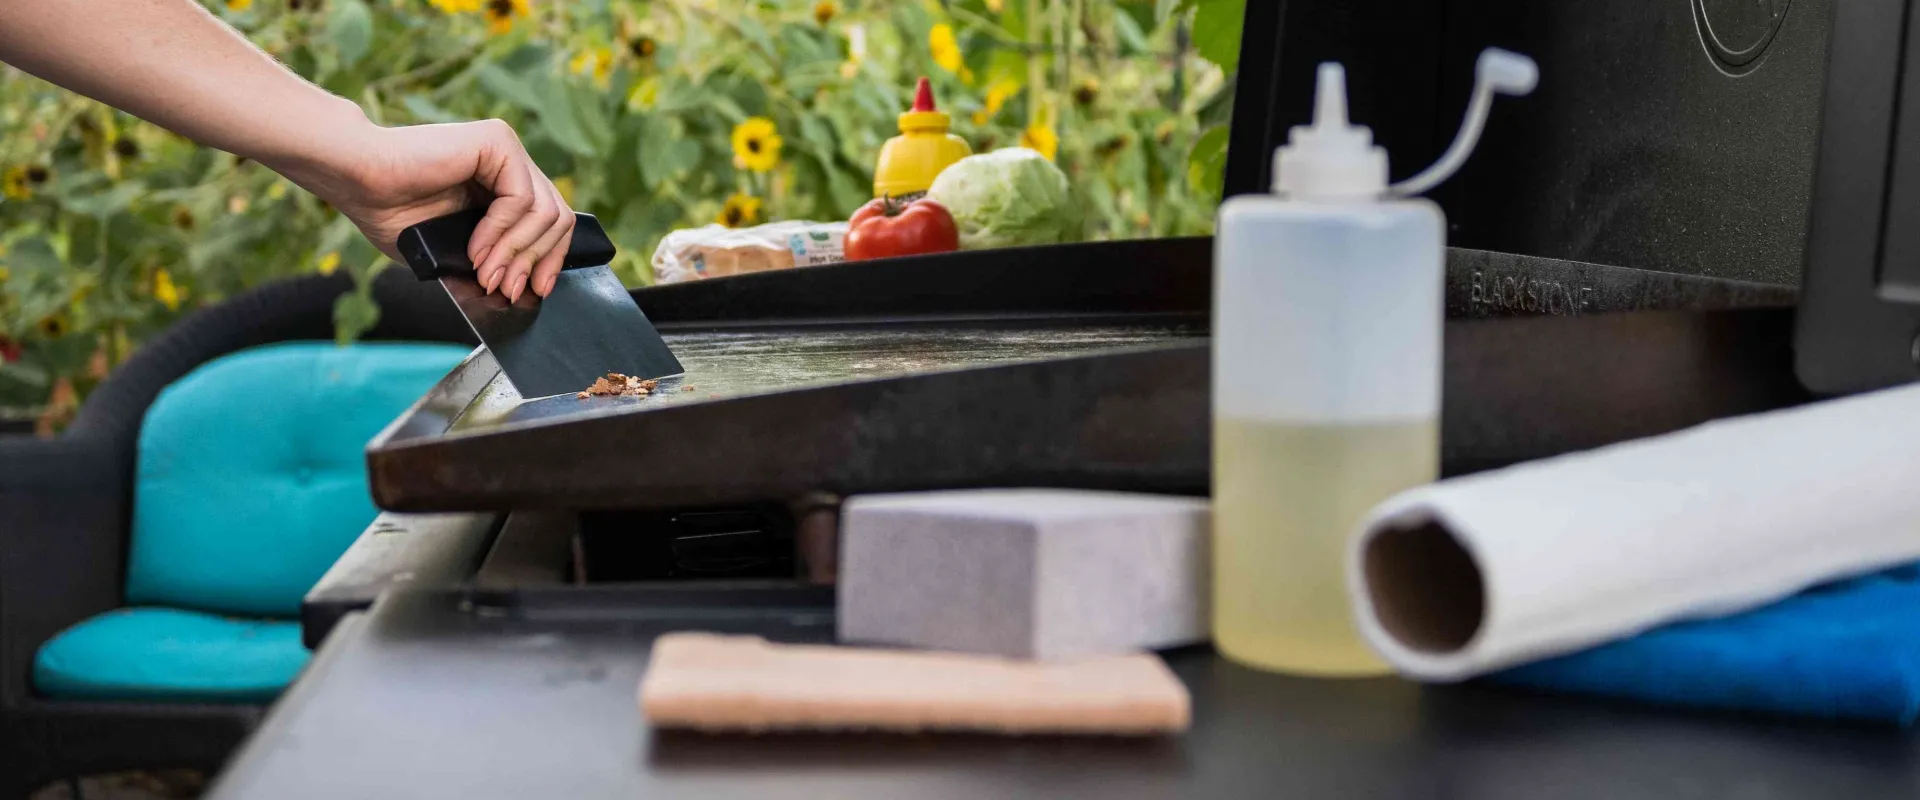
- Grill scraper or putty knife
- Heat-resistant gloves
- Optional: steel wool or scrub pad
Ensure your Blackstone is fully assembled and any stickers removed before seasoning. Have the oil and towels ready to go. Now let’s get seasoned!
Step 1: Heat the Griddle Surface
Turn all burners to the highest setting. Close the lid and allow 10-15 minutes for the griddle to fully preheat. Use water to test – it should sizzle and evaporate immediately on contact. This opens the pores of the metal to accept the oil.
Step 2: Clean Cooking Surface
Once heated, use a grill scraper or putty knife to remove any residue, stickers or debris from the cooking surface. Take care not to gouge the metal. Wipe away any dust with a towel. Avoid using soap or water.
If needed, use steel wool and a small amount of oil to gently remove any tough deposits. Get it as clean as possible.
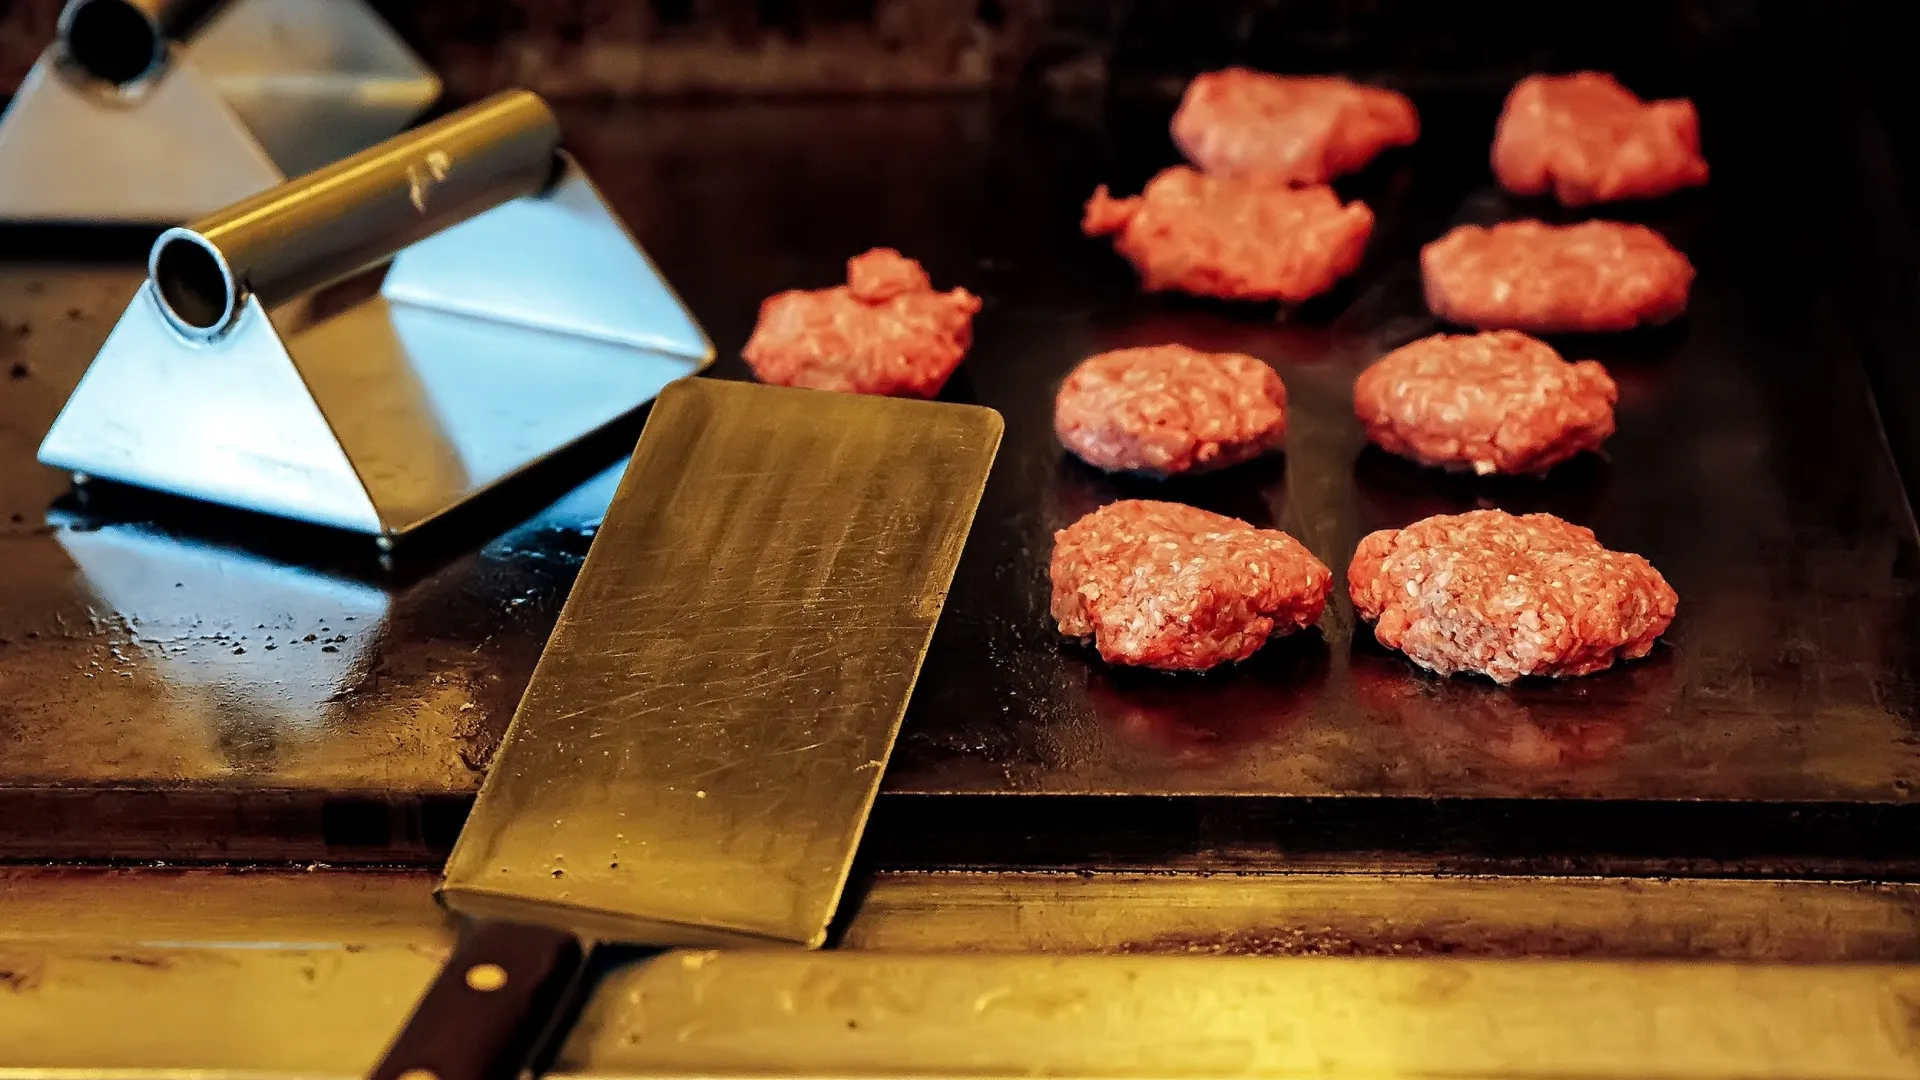
Step 3: Apply a Thin Layer of Oil
Carefully spread a thin, even layer of oil over the entire preheated cooking surface. Use tongs for hard-to-reach spots. Just a glistening sheen is needed – too much oil can leave a sticky residue. The metal may smoke lightly.
Step 4: Spread and Rub In Oil
Let oil sit 2-3 minutes. Then use clean rags or paper towels to further spread and rub it around the griddle surface. Apply pressure to buff in the oil evenly. Focus on dull spots. Be careful of hot metal.
Step 5: Heat and Re-oil
Turn griddle to high for about 10 minutes. This helps bind the oil to the metal. Carefully re-oil once heated. The surface may smoke from residual oil burning off. This is normal.
Step 6: Repeat Process
Allow griddle to cool somewhat and repeat steps 3-5 at least twice more. 3-5 rounds of seasoning are ideal to build up the patina. Let any excess oil burn off on low heat after last round.
Step 7: Final Wipe Down
Give the cooking surface a final wipe with a dry towel once cooled. Avoid using water or soap. The griddle is now ready to cook on!

Tips for Seasoning a Blackstone Griddle
Follow these handy tips for the best results when seasoning your flat top griddle:
- Use high smoke point oils like grapeseed, vegetable or avocado oil.
- Warm up the oil before spreading for easy application.
- Spread oil in extremely thin layers. Too much causes stickiness.
- Buff any blotchy spots until the patina looks uniform.
- Have patience and re-oil as needed. Good seasoning takes time.
- Avoid dish soap or water once the patina is built up.
- Cook bacon or other fatty foods first to add another seasoning layer.
- Use grill scrubber and re-oil to maintain seasoning over time.
- If rust appears, scrub with steel wool and re-season damaged areas.
With this simple seasoning process, your griddle will be ready to cook incredible tasting meals on its slick, non-stick surface! Now let’s look at how to cook on your newly seasoned Blackstone.
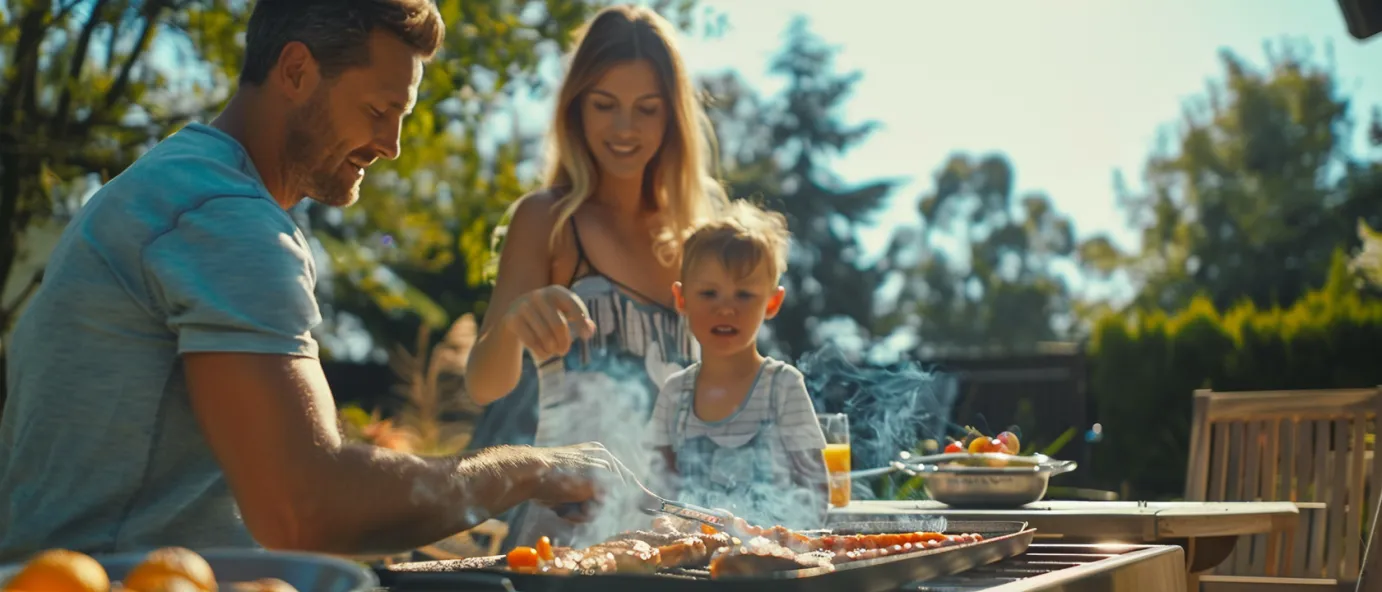
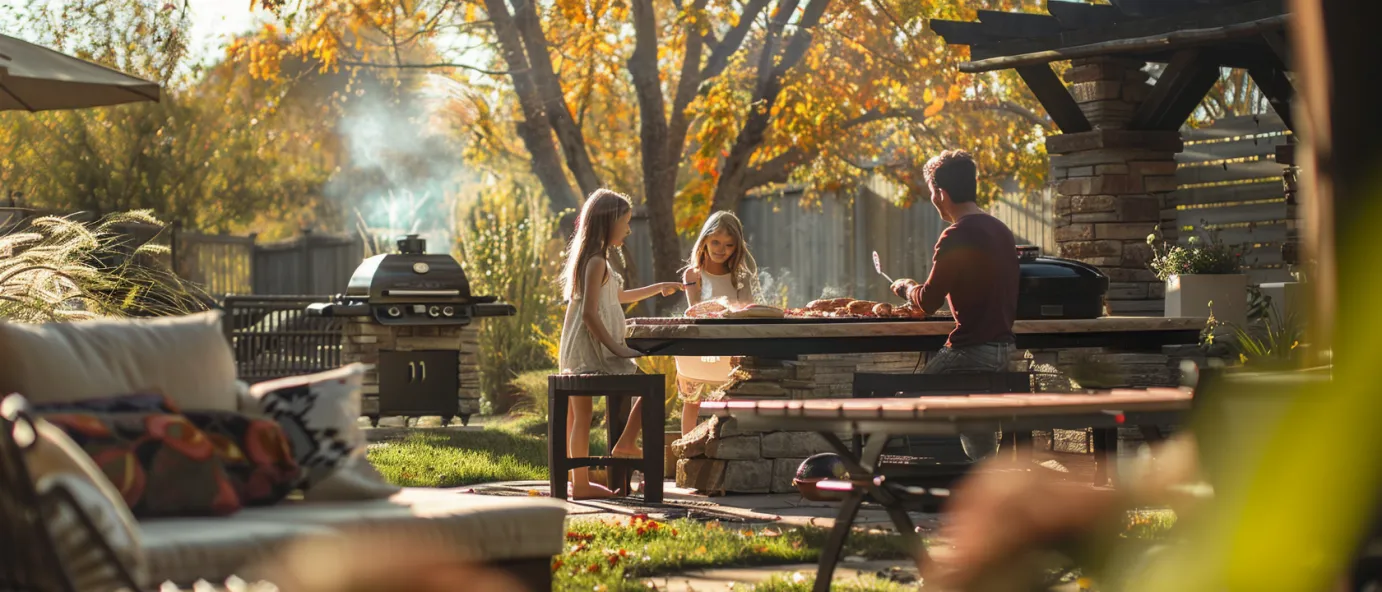
Cooking on Your Seasoned Blackstone Griddle
Once your Blackstone griddle is properly seasoned, you’re ready to start cooking up a storm! Follow these tips:
- Preheat slowly at a lower temp – High heat can damage seasoning.
- Use a little oil/fat – Adding some oil or butter prevents sticking, especially with proteins.
- Clean as you go – Wipe up food bits after cooking. Periodic scraping keeps the surface tidy.
- Avoid acidic foods at first – Ingredients like tomatoes or wine vinegar can erode seasoning.
- Don’t overcrowd – Too much food traps moisture and causes sticking.
- Let drippings burn off – This self-cleans the griddle between batches.
- Re-oil after each cookout – Maintain the slick surface by applying a fresh thin oil layer.
Thanks to your initial seasoning, the griddle provides a natural non-stick surface perfect for cooking pancakes, eggs, stir fry, grilled cheese, and so much more with ease! Enjoy the flavor-enhancing qualities of your flat top grill.
Caring for Your Blackstone Griddle
To keep your Blackstone griddle performing its best for years to come, follow these care tips:
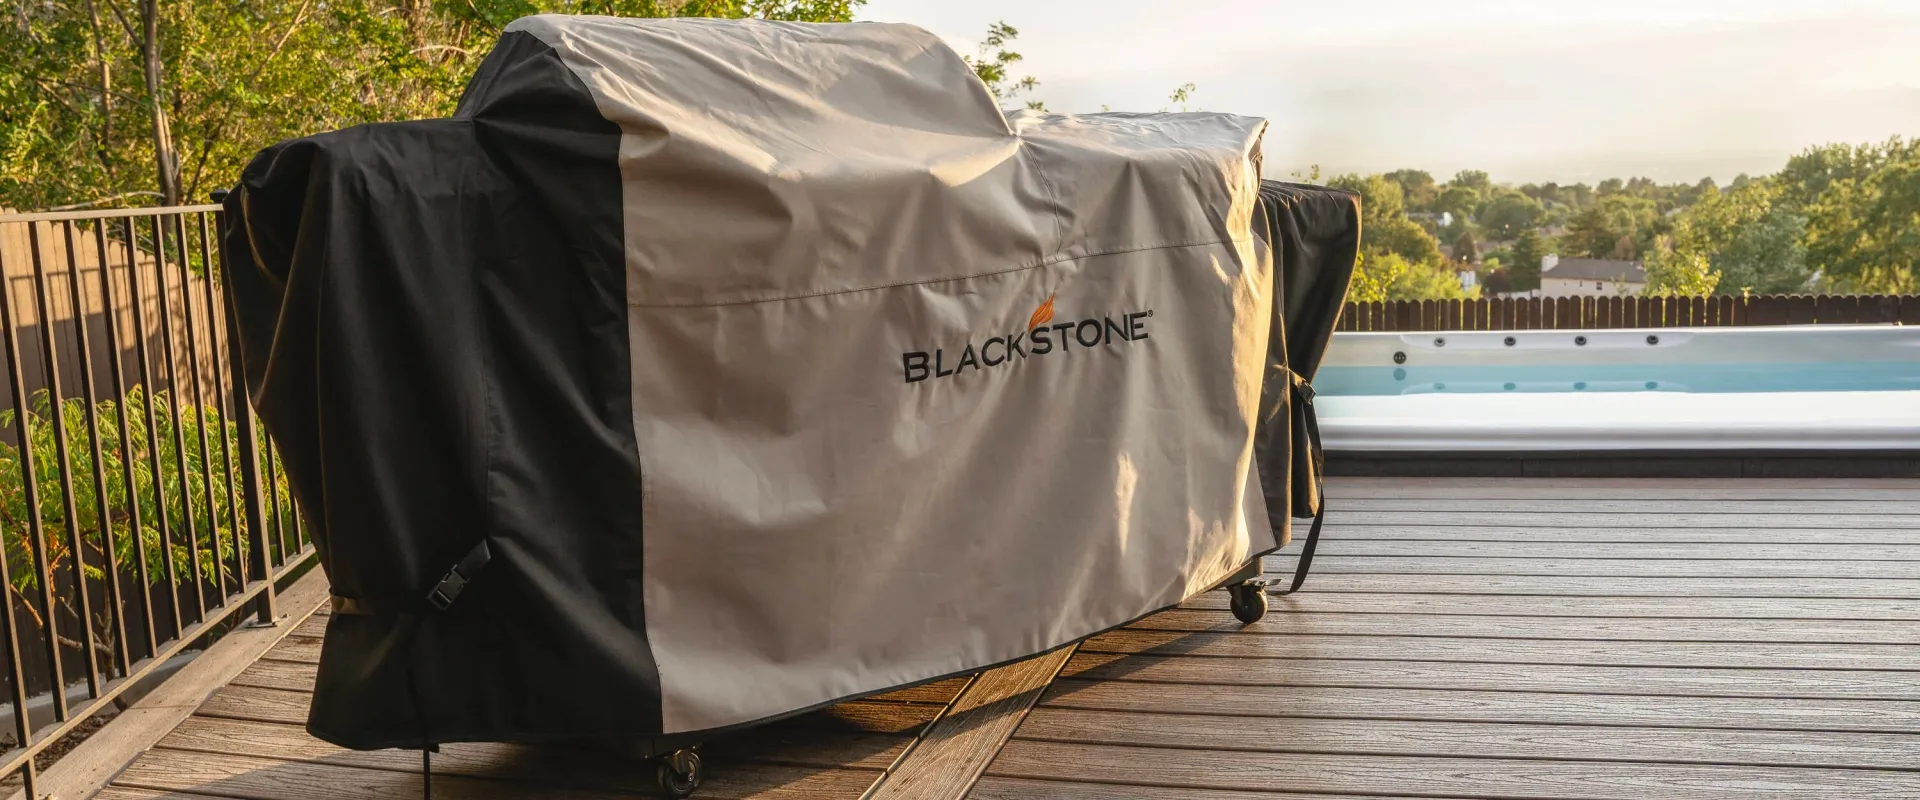
- Keep covered when stored outdoors – Protect from weather damage.
- Coat with oil gel before long-term storage – Prevents rusting.
- Empty grease regularly – Prevent grease fires by emptying after each use.
- Periodic deep cleaning – Use a grill cleaner and scrub pad for stubborn gunk if needed.
- Check components – Ensure burners, knobs and parts are working safely before each use.
- Touch up seasoning as needed – Re-oil and season any areas that look patchy or dry.
- Tighten everything – Periodically check and tighten loose bolts, connections and components.
- Protect accessories – Store shelves, cutting boards, etc. indoors when not in use.
Following this griddle care advice along with proper seasoning provides years of happy grilling! Now let’s look at how to troubleshoot potential seasoning issues.

Troubleshooting Blackstone Seasoning Problems
Follow this troubleshooting guide if you encounter any problems with seasoning your Blackstone griddle:
Problem: Food is sticking badly to the cooking surface.
Solution: Scrub with grill cleaner and steel wool to remove stuck bits. Rinse with water and re-season the griddle completely. Ensure oil is thinly layered on a hot surface.
Problem: Surface looks blotchy after seasoning.
Solution: Buff any dull looking spots with oil and paper towels. It takes time for the patina to build evenly. Just keep cooking and caring for it.
Problem: Rust is developing on the surface.
Solution: Use steel wool or a grill scrubber pad to remove rust spots. Rinse with water and immediately re-season those areas to protect the metal.
Problem: Seasoned surface feels sticky.
Solution: Too much oil was likely applied. Heat griddle to burn off sticky residue. Scrub with salt, rinse, and re-season using less oil in very thin layers.
With some care and maintenance, your seasoned griddle will provide decades of cooking magic. Now you can feel confident about seasoning your Blackstone grill or griddle! Use this complete guide anytime you need to season a new Blackstone or refresh an existing one. Happy griddling!